Five methods for non-destructive testing of weld of stainless steel welded pipe
After the welding operation of stainless steel welded pipe, there are sometimes small defects in the weld area. If it is not found in time and handled well, it is easy to affect the use effect. So how can we check the weld in detail and do not damage the weld? At present, there are five main main methods.
Ray flaw detection
A nondestructive testing method for inspection of internal defects in welded joints of stainless steel welded pipes using X – ray or gamma ray radiation. It can accurately show the type, size and shape of welding defects in the weld. The flaw in this method of flaw detection is that if long-term operation affects the influence of the operator’s body.

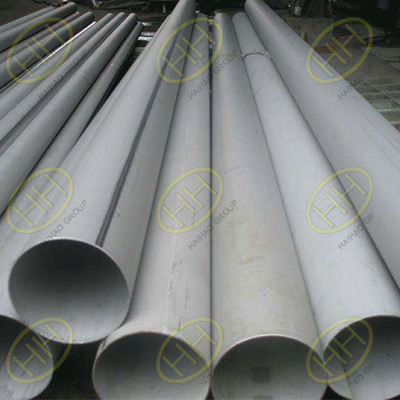
Stainless steel LSAW pipe
Penetrant flaw detection
This is the penetration effect of a permeable agent with a fluorescent dye or a red dye to show a nondestructive testing method for small defects on the surface of the welded joint. The surface of the test needs to be smooth and smooth when testing. This method is two kinds of fluorescent flaw detection and coloring flaw detection. The accuracy of fluorescence detection is relatively high, and it can reach up to 10 m. The surface inspection of welded components is often done by coloring method.
Eddy current flaw detection
Eddy current testing is based on the principle of electromagnetic induction as a basis, when the stainless steel pipe through the AC winding, the stainless steel pipe surface or near the surface will produce skin effect, eddy current when the defective parts will produce change, the winding impedance or induced voltage change, in order to obtain the signal related defects. The defect can be identified from the amplitude and phase of the signal, and the discontinuity defects on the inner and outer surface of the stainless steel pipe can be identified effectively.
Magnetic particle flaw detection
This is a nondestructive test for the absorption of magnetic powder by leakage magnetic field formed in the surface of a ferromagnetic material in a strong magnetic field. In a place where there is a defect, the effect of magnetic leakage concentrates on the iron powder that is sored. The position and size of the welding defects can be judged according to the shape, thickness and number of the adsorbed iron powder. This method is not suitable for the non magnetic austenitic stainless steel.
Ultrasonic examination
This method is a nondestructive testing method by using the ultrasonic flaw detector to detect the defects in the weld. This method is suitable for plate flaw detection, and the defects within 5mm can be determined. The detection period is short, the wood is low, the equipment is simple, it is harmless to the operator, but it can not accurately judge the nature of the defect.
